Showing posts with label pumpkins. Show all posts

Sunday, October 12, 2014

Our Weekend- Old MacDonald's Farm + Pumpkin Patch

This weekend was really fun! On Saturday, we ran some errands and then went to a friend's 40th birthday party. Harper had a blast running around chasing one of the dogs there. "Woof woof" is one of her favorite sounds!

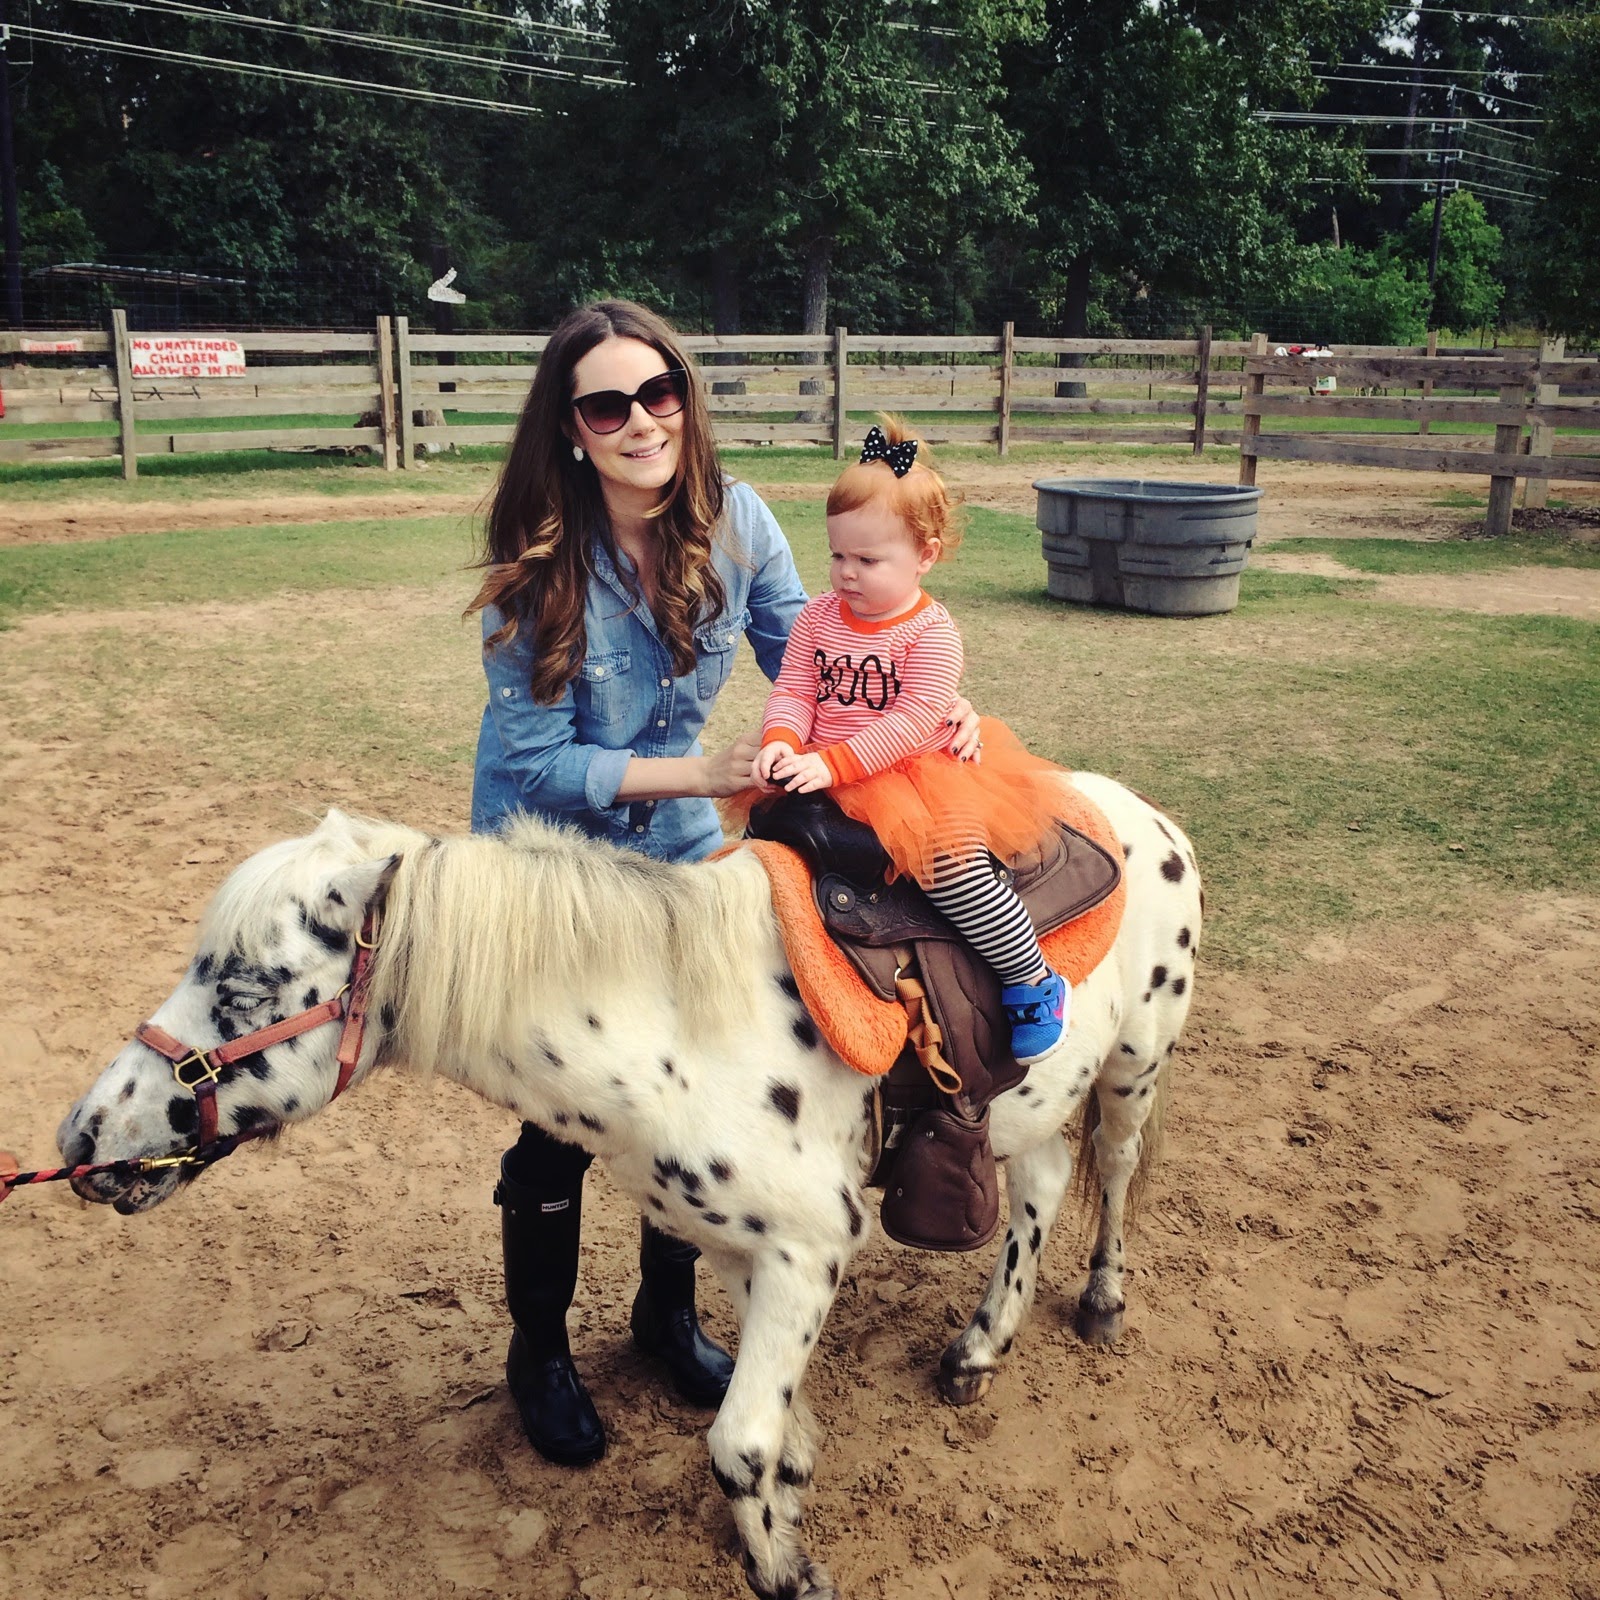
Today we headed to Old MacDonald's Farm in Humble. We met Amanda, Ben and Cami there and we had so much fun watching our girls explore the pumpkin patch, meet the animals, chase after deer and go on pony rides. My in-laws were able to join us too, which was great :)

I'll let the pictures do the talking here, we got so many cute ones!
top- old navy (love this too!) |  tutu- carter's (old- other cute options!)  |  leggings- baby gap  | bow- happinessliveshere, ? 
 Getting some air...
playing peek-a-boo!
this picture is SO Harper--- determined, focused, serious, sweet, 
always taking in her surroundings�just love her sweet little expression
hugs for grampy...
how she "hugs" the goat 
she was obsessed with the ponies--- before we left, she pulled her grampy's hand 
and led him to the line so she could go again!
the girls chasing deer...

We had such a great day! After visiting the farm, we all went to Chuy's for lunch. Then we headed home for nap time. After that, Megan came over for a visit--- and speaking of Megan--- if you need adorable Halloween cat ears for your little ones--- look no further, she's got you covered with these cuties!
Have a great Sunday!

Monday, October 21, 2013

DIY Painted Pumpkins with Gold Polka Dots!

I saw a lot of awesome painted pumpkin tutorials on Pinterest recently and wanted to get in on all the fun. I absolutely LOVE DIY projects and crafting and even though I don't have as much free time now, I tend to craft turbo-speed style on weekends after Harper is asleep!
| the final product | 

After picking up some pumpkins at the pumpkin patch over the weekend, I decided to break out my acrylic paints and get down with some pumpkin painting.
I decided to go with smaller pumpkins because they are easier to display inside of your home and they just look so cute when paired together!
What you'll need:
  • Acrylic paint
  • Glue gun
  • Scrapbook/craft paper
  • Scissors
  • Paint brush
  • Surface protector (I used a plastic bag from Target)

I started off by applying 2 coats of Folk Art brand acrylic paint that you can purchase at Michael's Arts & Crafts. Once the pumpkins were dry, I intended to use a gold paint to paint polka-dots, but after just one dot, I knew it was going to look terrible and I remembered I had shiny gold and gold glitter scrapbooking/craft paper left over from previous projects. 

I got out my trusty glue gun and began cutting out circles (I freehanded them, they don't have to be perfect) and I applied a dot of glue to each dot before affixing to the painted pumpkin. It's really that easy. The most time consuming part is cutting out the dots.
Have you done any fun Halloween DIY projects? Let me know in the comments...I definitely plan to get even more creative next year now that I've tested out painting pumpkins!

I also wanted to quickly share my Halloween chalkboard design. I used Jessica's tutorial to make my chalkboard out of a mirror I bought at Marshalls Home Goods (I painted chalkboard paint straight onto the mirror, no primer). It's actually a full length mirror, so pretty huge. I absolutely suck at lettering in chalk, but this was my first "okay" attempt that I completed after reading a chalk lettering tutorial on Pinterest:
Pretty cute, right? I can't wait to get better at lettering! I also made that pom-pom garland myself but need to make some more for the holidays!